
Quilted Homespun Tote Bag
Quilted homespun patchwork tote bag using homespun 4" quilt squares and a purchased canvas tote bag. Very easy and quick with lots of homespun charm. See instructions and more pictures below.

|
|
Materials:
- 144-150 Homespun 4" Precut Quilt Squares*
- 1 yard stiff, dense quilt batting**
- 1 purchased canvas tote bag, approx 15" x 16"
- optional- buttons to embellish tote
- For the front, set together 36 doubled (two layers) homespun squares to form a panel that is 6 squares wide and 6 squares tall. Do the same to form the back. Use a small, tight stitch and secure the seams with back stitching. Clip all the seam allowances about 1/2 inch deep and about 1/2 inch apart. This is what will make the "fray".
- Back stitching to secure the seams must be done 5/8" from all edges. Otherwise the back stitching will be lost when the homespun frays.
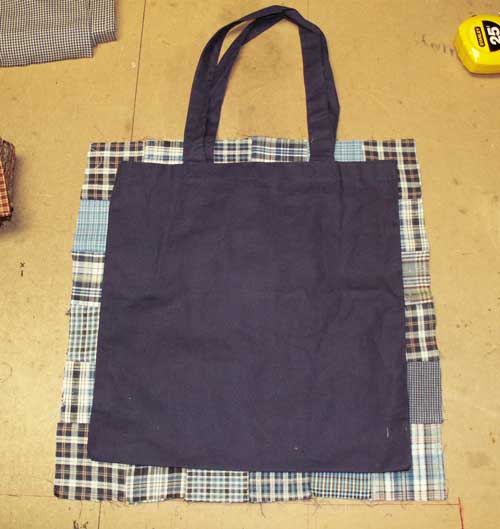
- Iron the front and back panels flat. Trim the edges of the front and back panels to match the size of your tote. The panels should extend about 1.5 inches beyond the tote in all directions. See photo below.
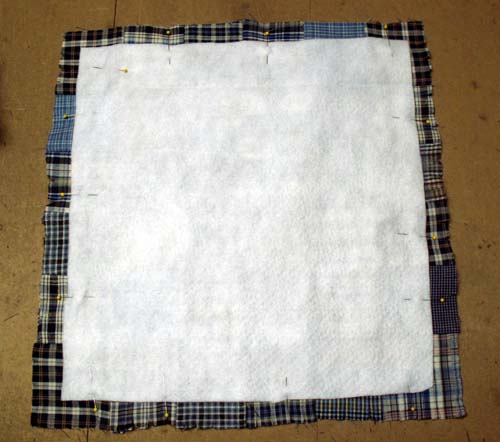
4. Cut a piece of quilt batting about 1 inch smaller than the front/back panels. Place it over the back side of one panel and pin well. (the back side is the side WITHOUT the seam allowances and raw edges.)
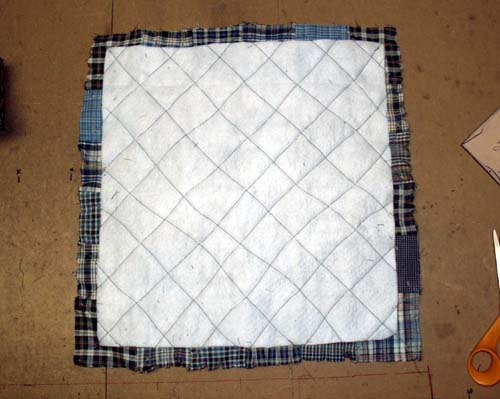
5. With the fabric side up, stitch from one side to the other across all the squares diagonally to ultimately form an X on each square. The back will have a diamond pattern as shown below when finished.
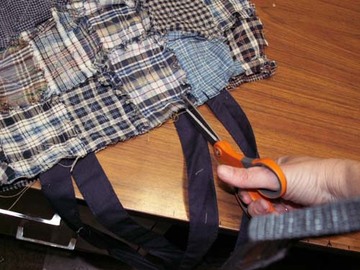
6. Pin front to back with batting sides together. Stitch the sides and the bottom, leaving the top open. Clip the side and bottom seam allowances 1/2 inch deep and 1/2 inch apart. Be careful that you do not clip into the stitching.
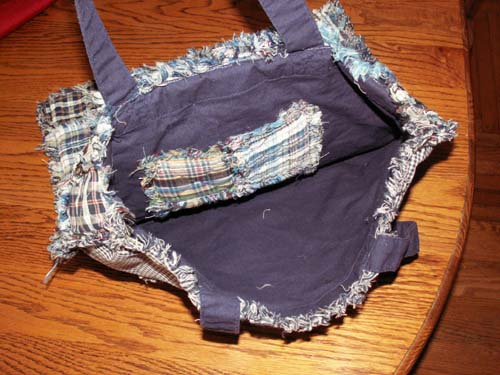
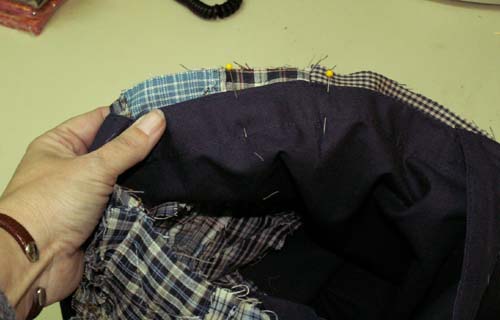
7. Turn your canvas bag inside out and insert it into the patchwork bag. The homespun portion will be slightly larger/longer than the canvas. This is so that the canvas tote will carry the weight of the contents and protect the homespun seams from stress.
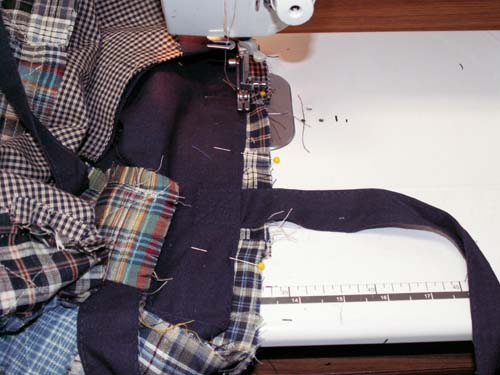
8. Place the top of the canvas bag about 5/8" below the homespun panels.and pin. Stitch with a small tight stitch very close to the top of the canvas bag. The homespun will again possibly be larger than the canvas so stitch some small pleats at the side seams.
9. Clip the top seam allowance 1/2 inch deep and 1/2 inch apart. Be careful that you do not clip into the stitching.
7. Turn your canvas bag inside out and insert it into the patchwork bag. The homespun portion will be slightly larger/longer than the canvas. This is so that the canvas tote will carry the weight of the contents and protect the homespun seams from stress.
8. Place the top of the canvas bag about 5/8" below the homespun panels.and pin. Stitch with a small tight stitch very close to the top of the canvas bag. The homespun will again possibly be larger than the canvas so stitch some small pleats at the side seams.
9. Clip the top seam allowance 1/2 inch deep and 1/2 inch apart. Be careful that you do not clip into the stitching.
|
|
10. Machine wash on cold with detergent and a liquid fabric softener. (optional) After washing, shake loose strings out before drying. 1/4 cup of table salt can be added to the wash to set the colors and prevent fading.
11. An optional pocket may be added to the inside by stitching it to the canvas bag before the bag is stitched to the homespun. Random buttons may be added for embellishment.
11. An optional pocket may be added to the inside by stitching it to the canvas bag before the bag is stitched to the homespun. Random buttons may be added for embellishment.