
Square Homespun Basket Liner
|
Just a little bit of colorful homespun can transform a plain basket into a warm welcoming design element of your home. The beautiful thing about basket liners is that you can use the same basket for every season! Just customize the liner to the season or to your home decor. Below you will find some simple steps to create a liner for your own basket. These instructions are for a rectangle or square basket. Coming soon is a tutorial for round or oval baskets. A wide assortment of homespun fabric is available from our shopping pages including Autumn Homespun Plaids and Christmas Homespun Plaids. |

|
INSTRUCTIONS FOR SQUARE/RECTANGLE BASKET LINER:
The amount of fabric that you need will depend on the size of the basket. See the instructions below for measuring your basket. We recommend using a double layer of fabric for durability and to have a fuller fray. Only homespun fabric will fray this way. If you are not using homespun, you'll need to hem all your exposed edges and seams. Check out our shopping pages for Autumn Homespun Plaids and Christmas Homespun Plaids.
The amount of fabric that you need will depend on the size of the basket. See the instructions below for measuring your basket. We recommend using a double layer of fabric for durability and to have a fuller fray. Only homespun fabric will fray this way. If you are not using homespun, you'll need to hem all your exposed edges and seams. Check out our shopping pages for Autumn Homespun Plaids and Christmas Homespun Plaids.
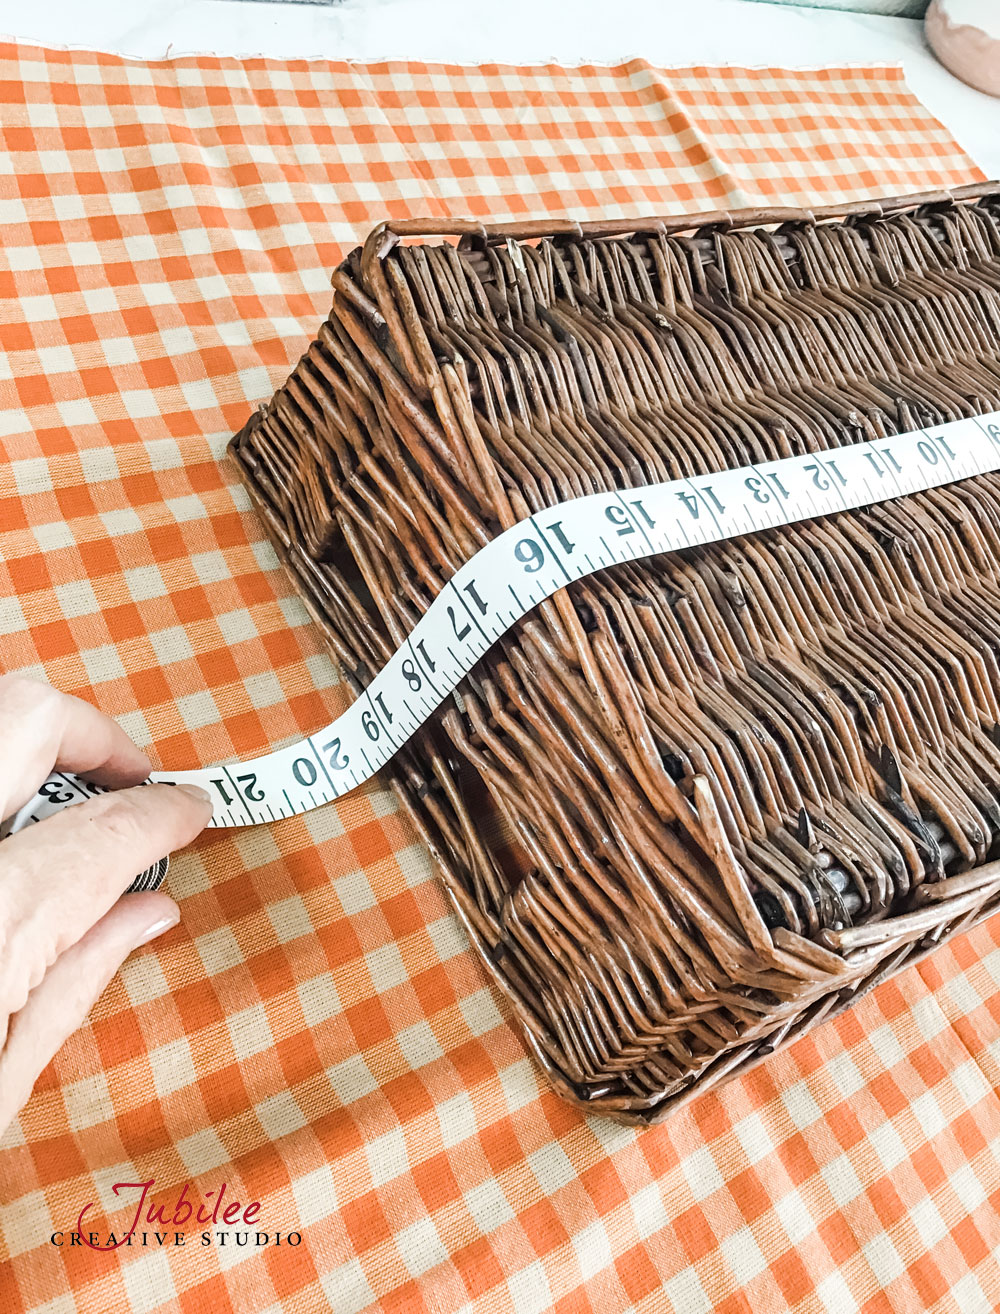
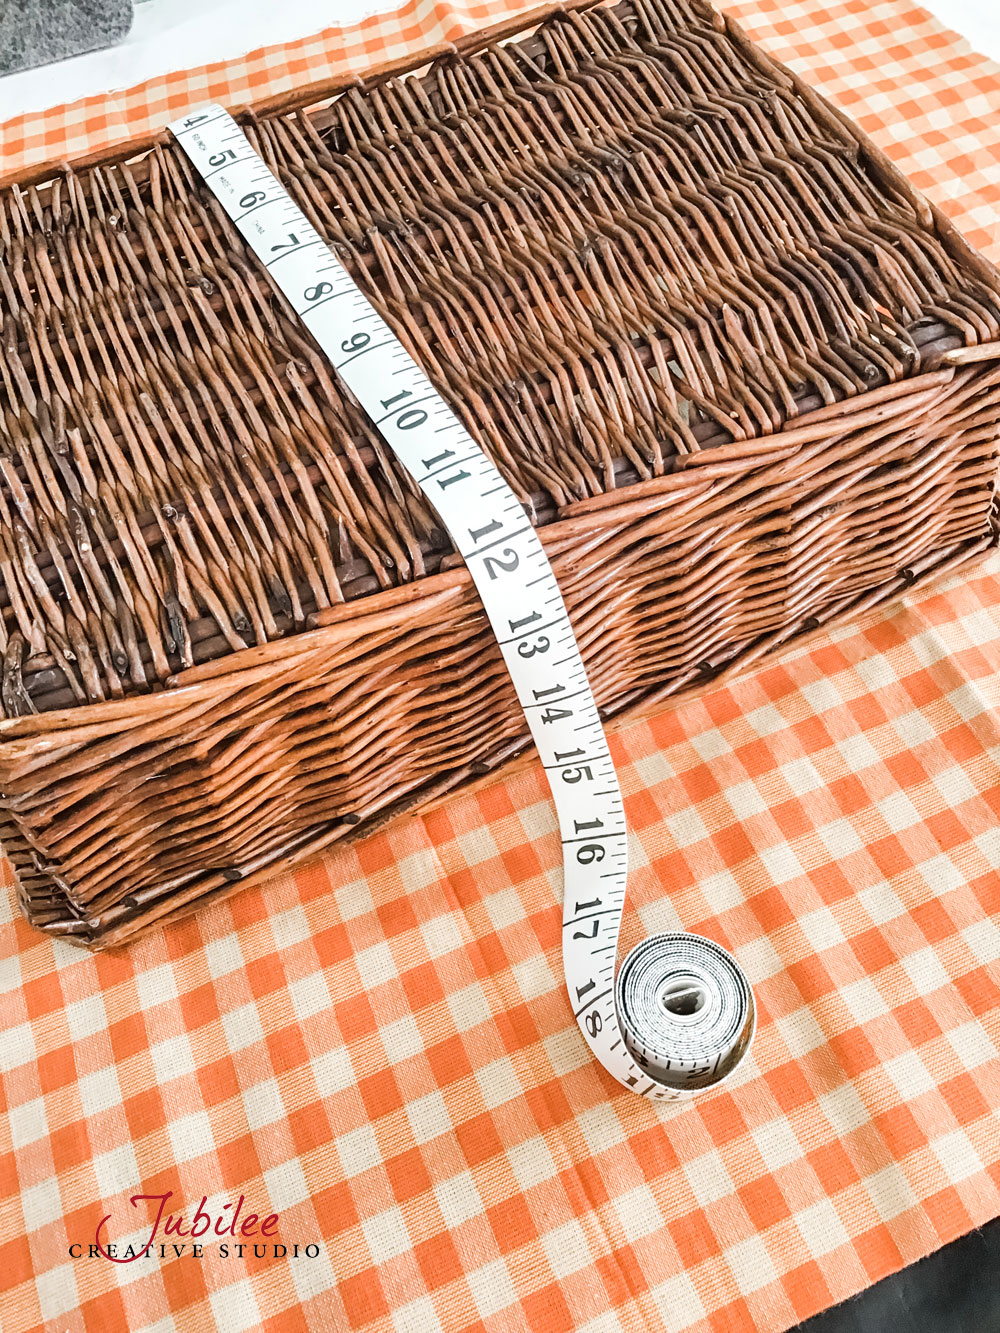
- Measure your basket as shown in the image below. L (length) and W (width) Measure from the top of one side, across the bottom to the top of the other side. In our example, the basket measures 19 x 15. Add 4 inches to each dimension to get the dimensions of your liner cut. So our liner will be 23 x 19. Cut two layers of your liner homespun fabric to these dimensions. (L +4 inches x W +4 inches)
|
|
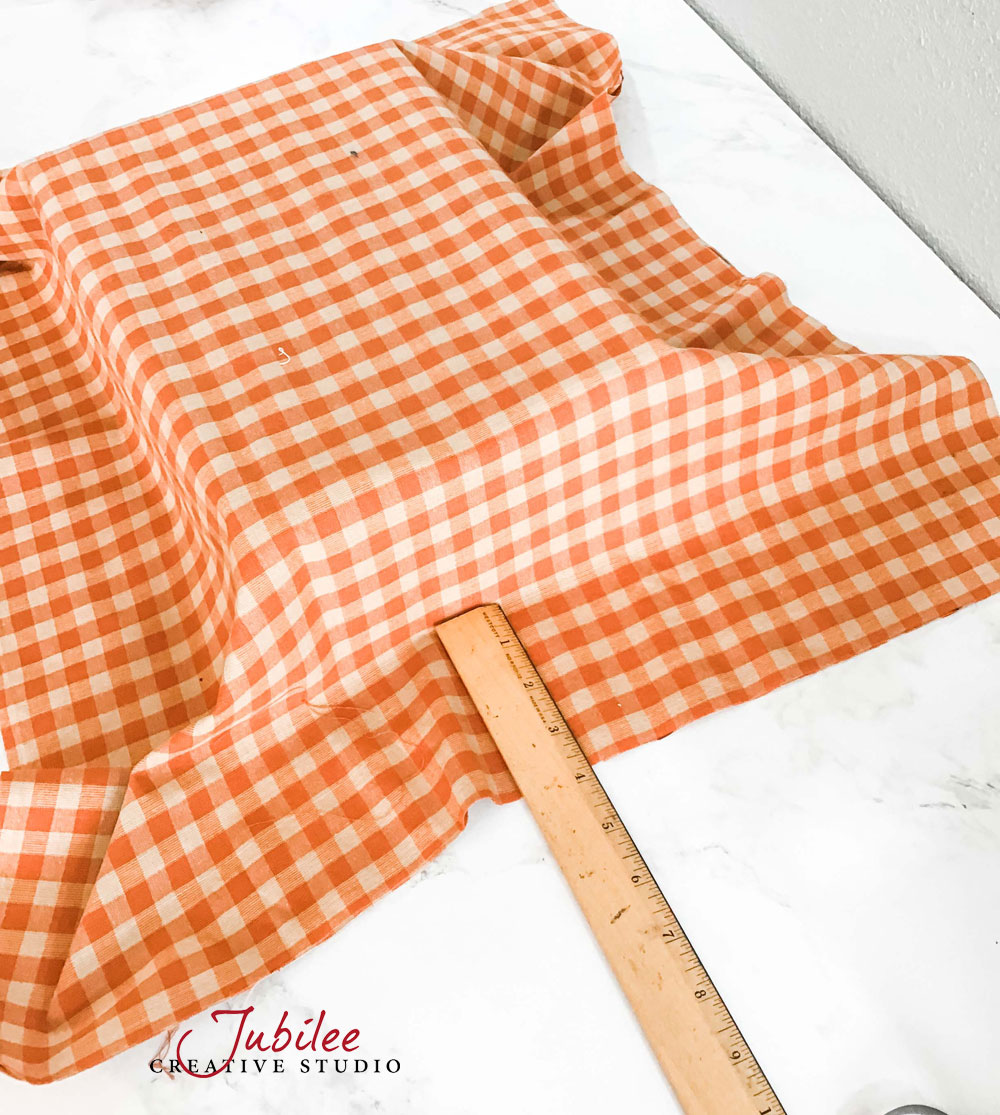
- Lay your two layers of homespun over the top of your upside down basket and center it up with about 4 inches excess extending in all directions. This doesn't need to be exact! Close enough is good enough! Trace around the outer edges with a disappearing quilt marker.
|

|
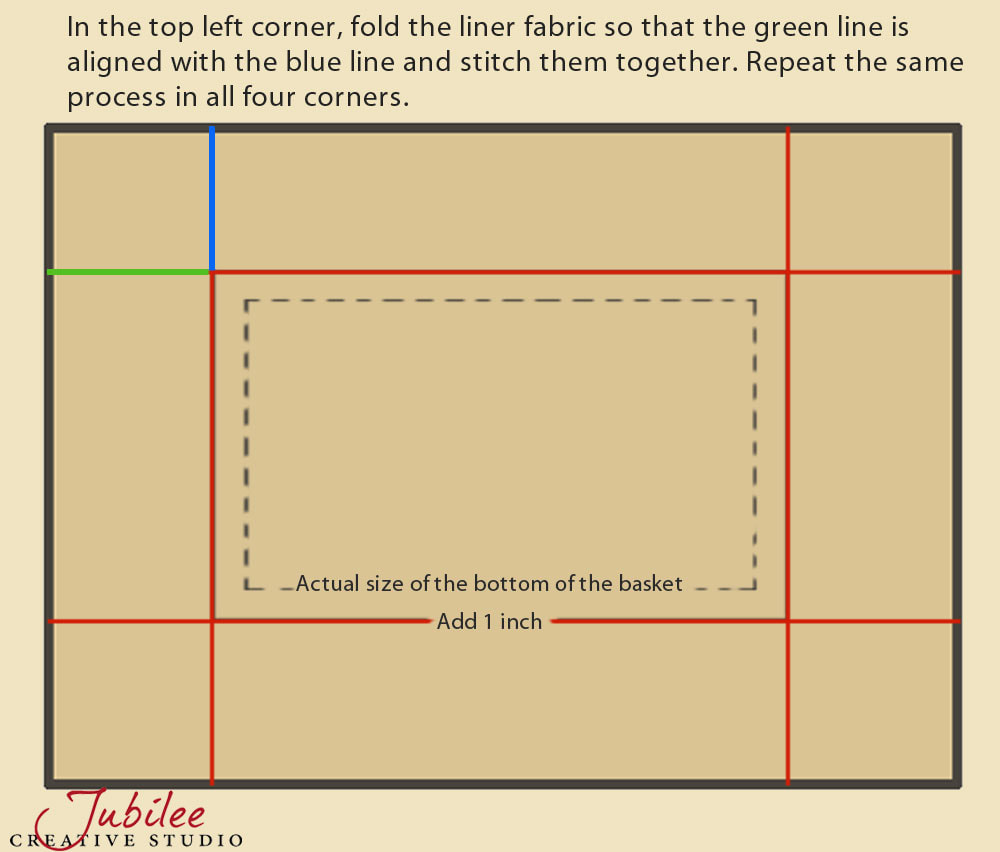
- Remove the basket and lay the fabric flat. Use a straight edge and disappearing quilt marker to make some new marks on the fabric according to the diagram shown below.
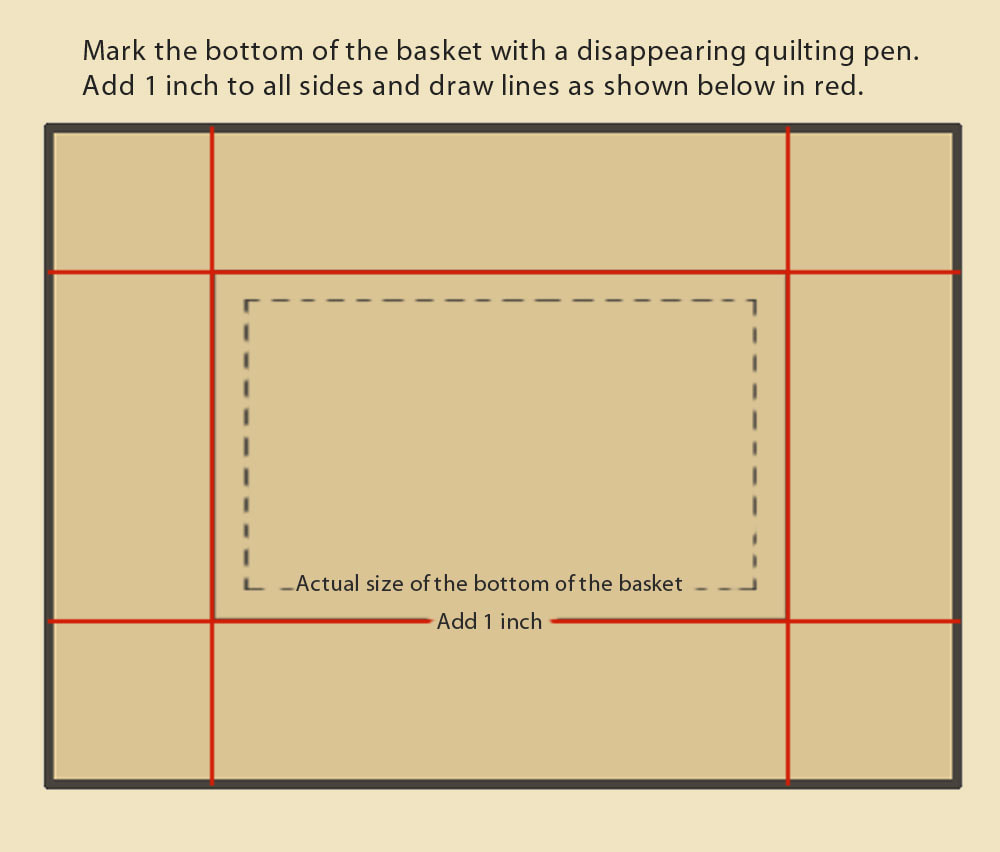
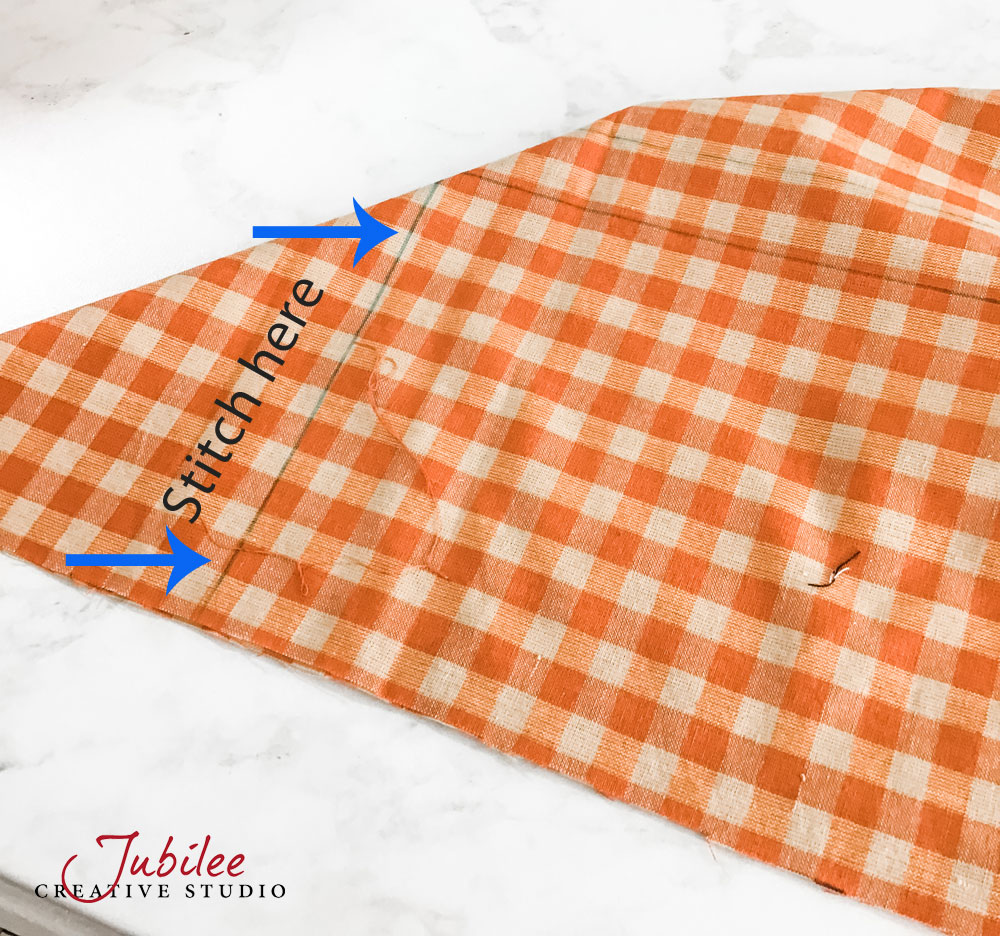
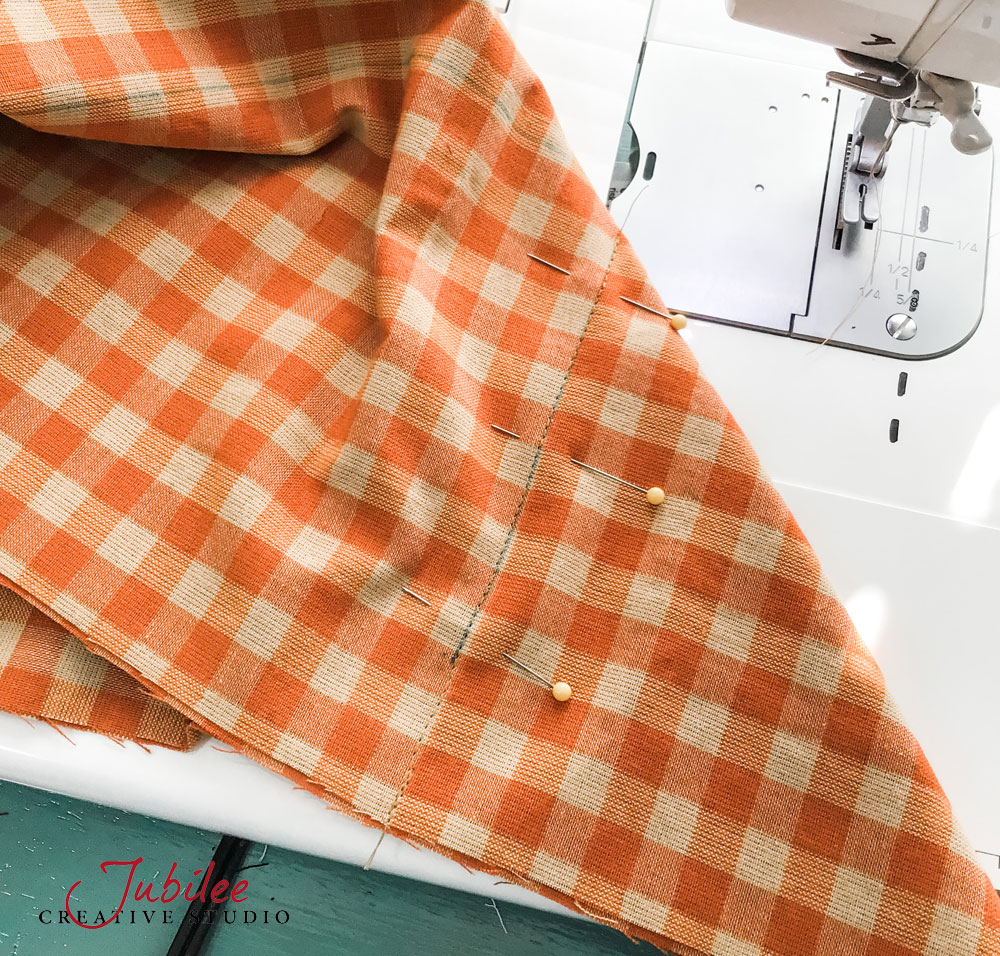
- Fold the fabric so that the two lines in the top left corner are matched up. Stitch along those lines to form the first corner edge. Repeat with the other three corners.

|
|

|
|
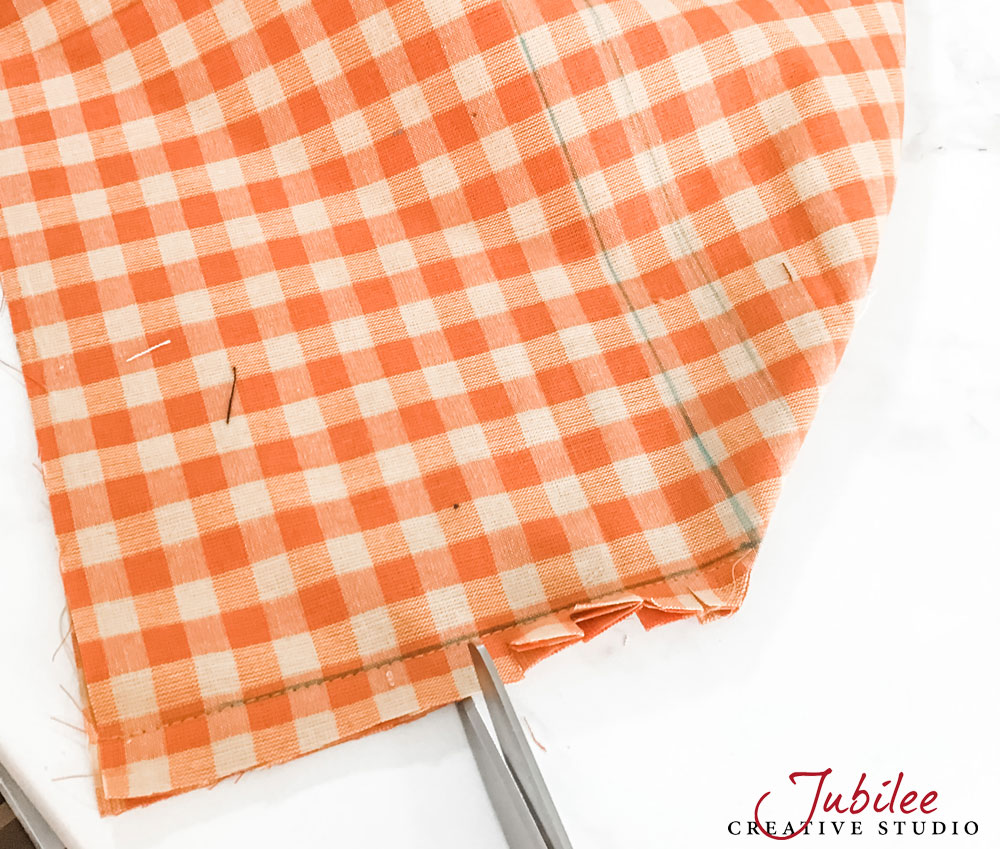
- After all the corners are stitched, trim off the point about 5/8" from the seam. Clip the remaining seam allowance about 1/2" deep and 1/2" apart. Do this to all four corners.
- Clip the top raw edges of the basket 1/2 inch deep and 1/2 apart.

|
|

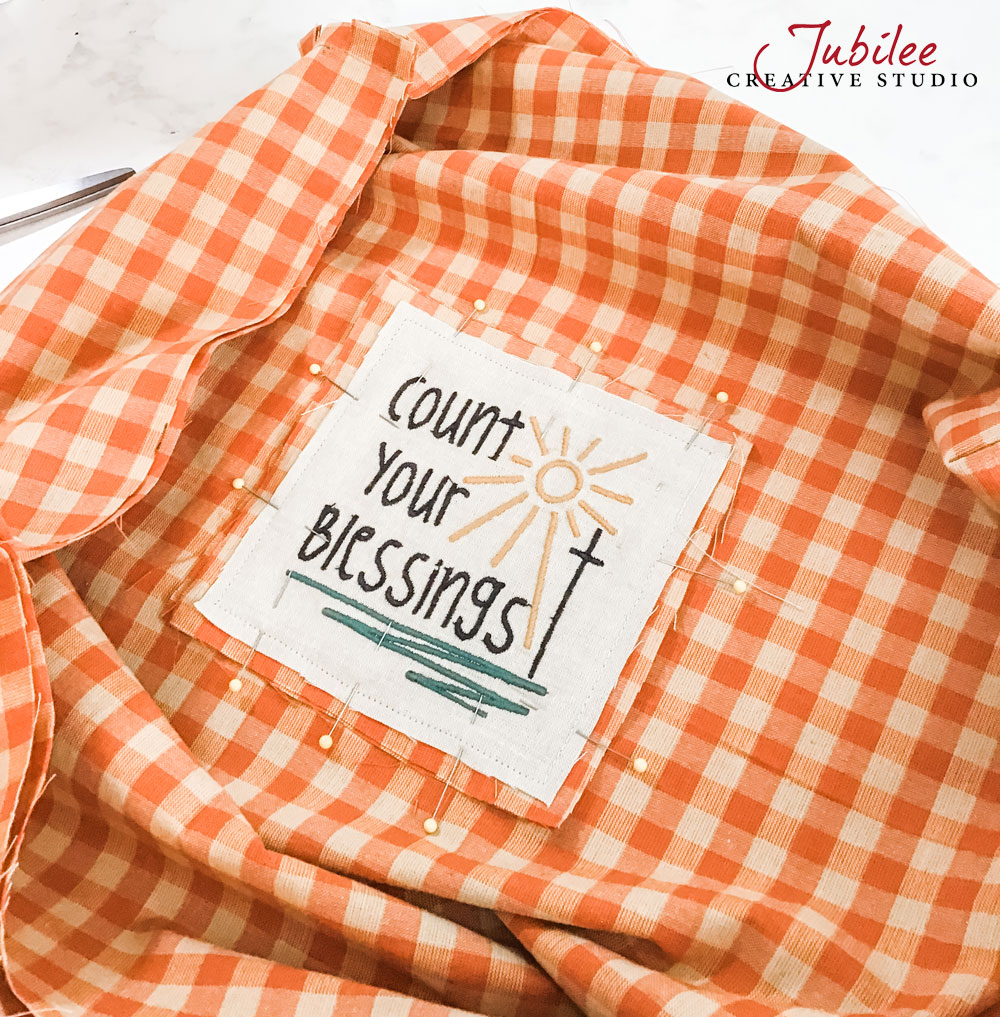
- Add embellishment if you wish to the inside of the basket. In this example, we added one of our embroidered square faith messages. We put some slightly larger homespun under it and clipped those raw edges to give the embroidered square a nice full frayed frame.
|

|
- Fold about 1.5 inches down from the top raw edges of the basket and pin. This is going to be the casing that your elastic goes through. Fold away from the center embellishment if you added one.
- Stitch around the top about 3/4" from the folded edge. Leave a 1-2 inch gap in the stitching so that you can thread the elastic through here.
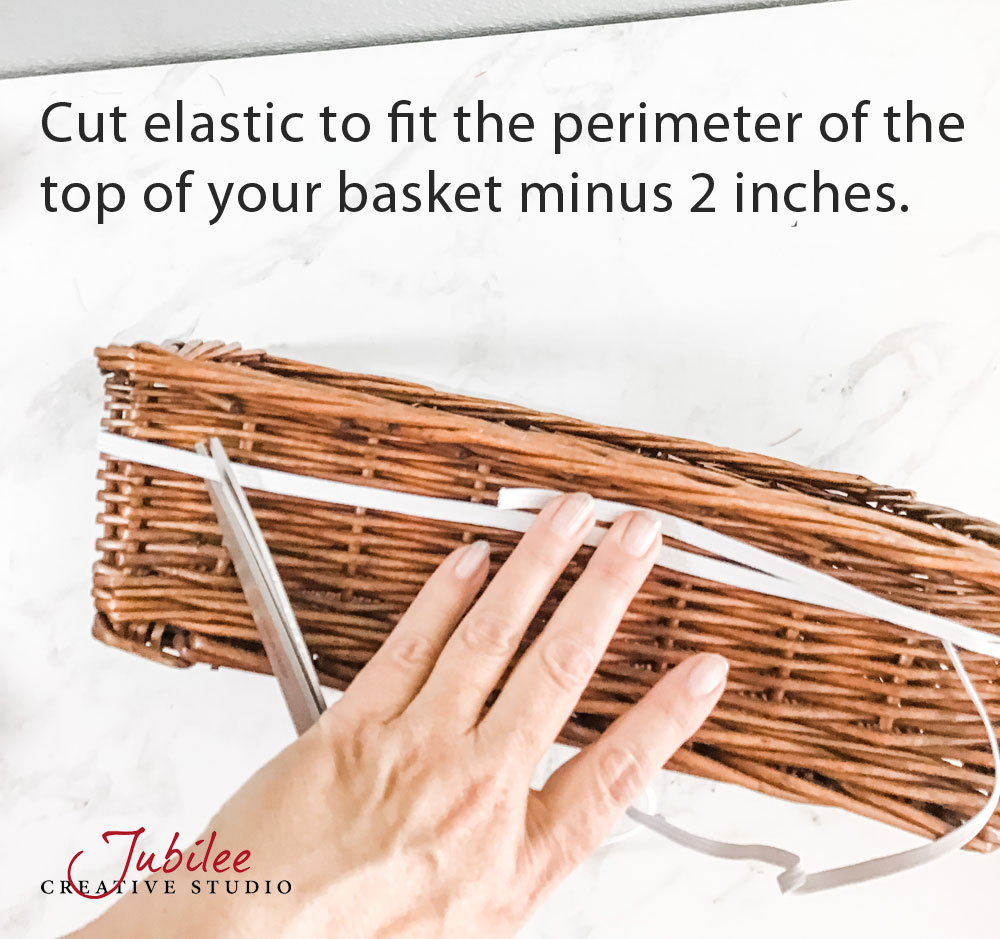
- Cut elastic to fit the perimeter of the top of your basket minus 2 inches. So if the top of the basket measures 30 inches, you'd cut your elastic 28 inches.

|
|
|

|